Tuesday, November 27, 2012

F*cking shucking (& cioppino)

Please excuse my potty mouth. But...really, have you ever shucked an oyster before?! That is some serious business. Clams are no problem. The clam knife goes in so easily! But those oysters! You really have to get in there. I wish I had someone to film me doing it so you could see the joys of jamming an oyster knife into the oyster's weird hole thang...maybe this is too vulgar to write about. To say the least, it was gross and I felt like I was violating those poor oysters (they were still alive!)...Sooo yeah shucking shellfish. It's awesomeeeee. It's not as scary as it sounds, but it does take some work.

Oysters are pretty!
But sometimes they have mud goop stuck in their crevices. Yum.
Use a towel (4ply) when shucking shellfish, you don't want to stab your hand.

You need an oyster knife to shuck an oyster. It has a pointed tip and looks like this. 
(This is the one I have! Victorinox brand.)

Put the oyster on your folded towel rounded-side down.
(That means the flat side is up and facing you!)
Fold half of the towel over the top, like what I did in this picture.
Yeah so just stick the tip of your oyster knife in the small hole and wedge it in there (HARD) while you twist. Remember to twist! 
Don't forget where your hand is. Seriously, that thing will go straight through your hand if you aren't careful. But that's why you have a towel there!
And once you get in there, work fast! Cut the membrane and get that oyster out of there! You don't want to stab it like 10 times...that would suck for the oyster and you.


If you be strugglin'
You can do what I did and sing "Twist and Shout" to yourself (aloud or in your head) and scream a bit if the oyster is making you struggle. If  it's really hard though, let the oyster rest and come back to it later. The more you struggle and the longer you take, the harder it will be to shuck it. (Because it's aliveeeee and fightin!!!!)


Plop! 
Yeah they'll plop out and look something like this.
Congrats, you got some fine lookin' alien fetuses. 
Hehhh kidding! 
But you gotta admit, something about them is fetusy. 


So! We didn't shuck all this shellfish for nothin' mayne. We prepared A LOT of shellfish. (But seriously, I could write like a novel about butchering squids. Probably the highlight of class today--squishing out their guts!) Like six different kinds today! And this was because we made Cioppino!

Cioppino is an Italian-American seafood dish, a fish stew. The seafood that goes into it usually depends on the region you are in. You might see the "catch of the day" in there, or whatever the best fish on the market is at the time. I'll share the recipe with you. I'm not even a huge fan of seafood and I thought it tasted pretty good! Mehh but shrimp...I'll never be able to eat those little dudes. Seriously, the arms! Creepin' me out! I could happily butcher squids and enjoy squeezing their guts out, but pulling the arms off a shrimp is just a whole new level of creepiness. 

Sorry, ranting! CIOPPINO TIME.


Ingredients:
  • ~6 Tbsp olive oil
  • ~6Tbsp salad oil (vegetable oil) 
  • 3/4 C mushrooms (quartered if large, leave whole if they're small--like button mushrooms)
  • 1 C onions, large dice
  • 4-5 cloves of garlic, whole (how much do you like garlic? consider thaaat)
  • 4 clams, fresh & shucked
  • 4 oysters, fresh & shucked
  • 4 shrimp, fresh (peeled and de-vained!) 
  • 6 scallops (sea--the BIG ones), fresh
  • 6 scallops (bay--baby ones!), fresh
  • 6 squids, cleaned and cut
  • 1/2 C chardonnay 
  • 10 Italian plum tomatoes (canned) *If you want to use fresh, I'd half them and cook them before 
  • 3/4 C tomato juice
  • 3/4 C tomato puree
  • 4 Tbsp clam juice (add reserved seafood juice from the oysters & clams if you have it!)
  • Fresh basil and oregano, to season
  1. First, we need to sear all of the seafood and mushrooms (all seperately!). So, Heat up a large pan (large enough for the whole dish to fit into, keep that in mind!).
    • Just a heads up! Sear everything in this order:
      • Mushroom
      • All of your seafood items (seperately)
      • Onions & garlic together
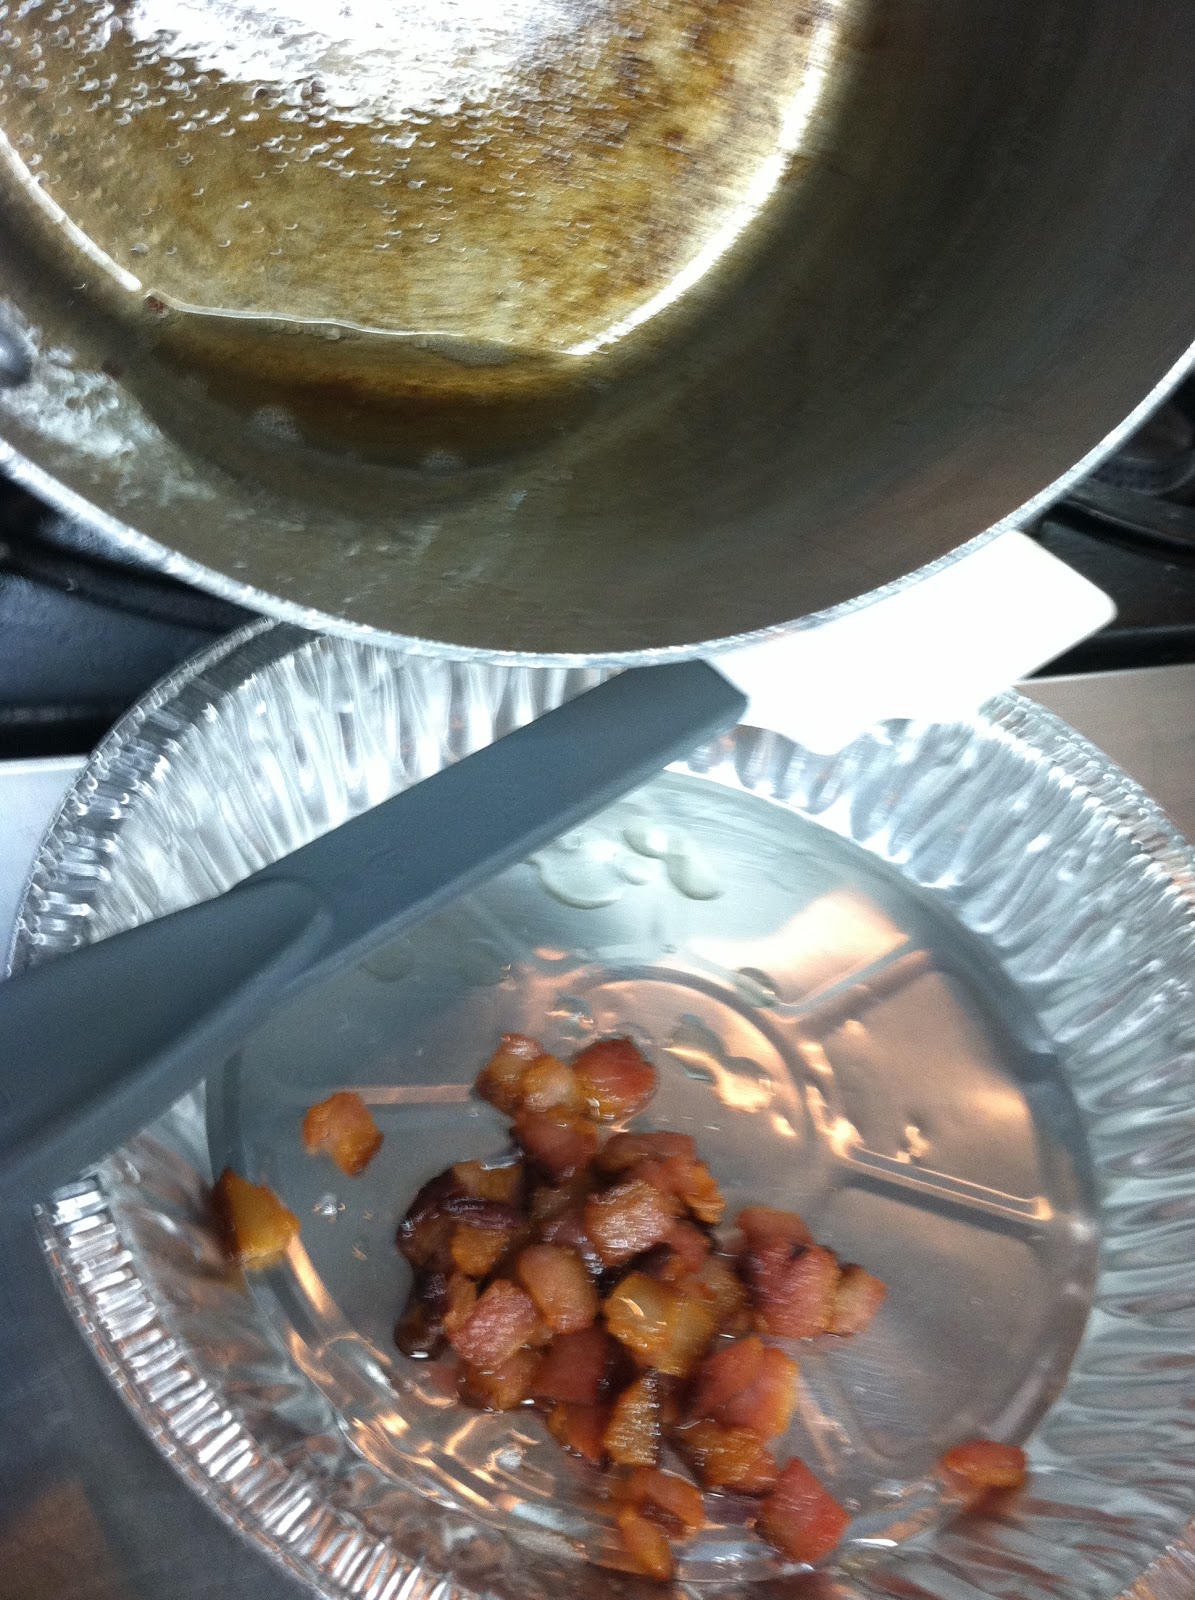
  2. Once the pan is hot, add your first item, mushrooms. The pan should be like SUPA hot. Don't mix them around. Let them sear. That means the side touching the pan needs to turn nice and brown. Add a little bit of the salad & olive oil to the pan around the edges. 
  3. Be patient with this, once you see that the side is browned. Toss away! Stir it up! Then let the other side sear for a bit. 
  4. When the mushrooms are seared remove them from the pan and reserve for later. 
  5. Now wipe that residue off of the pan with a paper towel and your tongs. If there's a ton of excess oil just dump it out. You don't want everything to taste like burnt mushrooms now, do you?
  6. Repeat the same searing process for all of your seafood. So that'll be 6 rounds of searing  for the seafood. Make sure to clean the pan each time! 
  7. Garlic and onions are the final items to be seared. However, leave them in the pan. 
  8. Turn the heat down a bit and add the chardonnay. Use a rubber spatula to scrape the bottom of the pan. Adding liquid to the hot pan will deglaze the crusty goodness from the bottom of the pan. You don't want to cook out the liquid, so quick, move on to the next step!
  9. Add the whole plum tomatoes. Break them down with your spatula and mix em up in there. Cook this on medium heat. *Always be aware of the flame! Unless you're using electric, good luck to you*
  10. Add the fresh herbs & tomato puree. Simmer simmer simmer away. 
  11. Add that yummy smelling clam juice now! 
  12. Now let that saucy goodness simmer. Taste your sauce along the way! 
  13. The sauce should reduce a little, but not a whole lot, so once I added all of my ingredients I let it cook for around 10 minutes. Trust your instincts and taste buds. The best way to know if something is done is to taste it! 
  14. When the sauce is ready, do a final tasting for seasoning. Add fresh cracked black pepper if you have it and maybe even a little salt. 
  15. Yo sauce is done meow! Turn off the heat. Remember all that seared goodness? Fold it all in: the oysters, clams, shrimp, mushrooms, etc. ALL OF IT. 
  16. That's it really, eat up! Sprinkle a little Parmesan cheese (or whatever you like) on top. Serve with some crusty bread or pasta. 


Monday, November 26, 2012

Mexican Hot Chocolate Cookies

I have a new tradition. Every Sunday I bring some treats for the employees at Kokua Market. Yay! I have people to bake for! (Seriously, if I ate everything I made...I'd be like 200lbs by now). So this week I made some Mexican Hot Chocolate Cooookies :) 

Basically, when I want to bake something I get this anxious feeling inside, like a big ball of energy inside of me that needs to explodeee! Okay, yeah that sounds crazy...but seriously, something like that happens! And if I don't let it explode I get frustrated. Something about baking is just so therapeutic. So to solve this exploding sensation I browse for recipes. Not to sound corny or anything...but they inspire me! It's exciting! I think of flavor combinations, recipe combinations, cooking techniques...I think to myself: what I can do to make something taste supah magical? So I usually hit up these websites (& others):
These always lead me to really cool blogs and inspiring recipes! From there I either follow a recipe that sounds good or I mix a few together. 

For the Mexican Hot Chocolate Cookies I used a few websites for inspiration. Well actually, Mexican hot chocolate itself is what inspired me...I bought some the day before because it's getting chilly here in Honolulu (haaa!). But yeah allrecipes helped me out for these. 

Ingredients: 
  • 2 sticks butter (room temp.)
  • 1 C white sugar
  • 1/2 C light brown sugar (packed!)
  • 2 eggs
  • 2 tsp. vanilla extract
  • 2 C AP flour
  • ~3/4 C cocoa powder (I used a lot...I really like chocolate.)
  • 3/4 tsp. baking soda
  • 1/4 tsp. salt
  • 1.5-2 tsp. cinnamon
  • 1/4 tsp. cayenne pepper
  • 2 C semisweet or dark chocolate chips
Shake n bake emmm cookie timeeeeee!
  1. Preheat your oven to 350 (F) degrees (if you want to bake the cookies right away! If you're going to chill the dough...wait, conserve energy please!)
  2. Mix your butter and sugar (white & brown) together until fluffy. You can use a mixer, I don't because I don't have one in my apartment. I'm sure it could make your life easier! 
  3. Next, mix in your eggs! And that vanilla extract mmmm!
  4. Mix in your cocoa powder (slowly...or else it might explode out of your bowl and onto you), salt, cinnamon & cayenne pepper
  5. Add your flour now, I add mine in like 3 parts so that it doesn't explode everywhere because dry ingredients like to do that sometimes.
  6. Fold in your chocolate chips.
  7. Dough is complete! I prefer to refrigerate my dough for a bit before baking them. So pop em in the fridge if you like for about 30-60 minutes. (If you're eager, I guess you can get away with skipping this step). Also, you might wanna preheat your oven now...if you're putting the dough in the fridge. 
  8. When you're ready to make the cookies. Scoop dough balls that are about 1.5 Tbsp.
  9. Bake for 10-12 minutes
  10. Let them coooool (at least for a minute!) then enjoy :) They're super good melty and warm with vanilla ice cream oohlalaaaa

IF YOU REALLY LIKE TO MAKE COOKIES. 

Please, buy one of these. 
I finally got one! A COOKIE SCOOPER! I decided it was time to treat myself to a lil' somthin'-somthin' because finals are coming and the stress is overwhelming sometimes. If you aren't a baker you might not realize how convenient this little gadget is, but seriously...life changing in regards to cookie making. No messy hands. No ghetto two-spoon scraping (the cookies won't be the same size yo). This thing made my day. Totally work the 13$. I'm sure you could get a cheaper on online...but thank you, Williams-Sonoma, for the instant gratification :)


18 days!

Woohoo! 18 days until I fly home!

Tomorrow will be my first day going back to class since...the 16th? Wow! Last week we only had two days of school because of Thanksgiving, but I got sick and missed those two days. So it's been a nice long break. I'm ready to go in, do work, and go homeeeeeeeeee.

So what did I do for that long break?

I made these Snickerdoodle Blondies


They were pretty good! I think the cinnamon makes them a little more holiday-ish than regular brownies. I always read reviews before I make something then alter the recipe a bit if it sounds like it needs help. So for this recipe I lowered the amount of brown sugar to 1.5 C (packed). And for the topping I used more than just a "pinch" of turbinado sugar. I used like 1 Tbsp or more.


I also finally made Sharpie Mugs! 

This stuff is alllllll over pinterest. I thought this would be a cheap and entertaining thing to do. So I dragged my sick nastiness out to Walmart (classy times) to pick up some:

*Sharpies (I got a colored multi-pack, I just really like Sharpies)
*A few plain white mugs

That's really all you need.

But I read about this project online a bit before I actually did it. There are rumors that this is a "crafting myth" or something...crazy people doin' crafts wrong yo! Someone sounded promising when they said to turn the heat up to 450 degrees instead of 350. I guess the ink will smear or rub off when you wash your mugs. So I did that. Also, f you use color, the colors will fade! I was kind of sad about that. But I think the turquoise blue color looked good and the dark dark pink. The other colors are too light and fade a lot...but try it out and see how it works for you. Maybe my oven is weird. Also, some people said to use special ceramic paint pens. I'm sure those would work a lot better than Sharpies...but I'm ghetto and I like Sharpies...so Sharpies worked for me, they can work for you, too! Yup yup so that's what I have to say about that project. Go try it out! It's Christmas season people! Make mugs for your friends, family, co-workers, maybe a Sharpie-ed dog dish for your dog? Yeah! Oh, and make sure to handwash...that's the only real bummer about this one. 

Sunday, November 25, 2012

Sunday Funday


Enjoy :)


SC Countdown: 19 days

Thanksgiving break is almost over, I have two more weeks of class (that's five days of class and a two-day final), nineteen days until I fly home, and thirty days until Christmas! Seems like time is flying! But really, all I want right now is for my class to be over. I want school to be over for the semester. I just want to board a plane and fly home to Santa Cruz. It hardly feels like winter when it's still 70 degrees! I miss my big baggy sweatshirts, sweatpants, blanket nests in bed and a nice warm fire place--ooh and especially waking up to the sound of rain. So nineteen more days and I'll be there! Good old Santa Cruz :)

Anyways, what I was trying to get to is...it's baking season yo! I don't have the money and time to bake all kinds of crazy things right now, but as soon as I get home IT'S ONNN. Until then, I'll be scoping out the latest and greatest recipes of the web. I'll share them with you and maybe you can test them out before I even get a chance to!


Saturday, November 17, 2012

Nutella Brownies

Nutella is possibly the most glorious chocolate creation in the world. I'm lucky enough to have some in my kitchen right now. The issue is, though, that I'll eat it all waaaaay too fast, feel sick, gain twenty pounds and die. So I'm solving this issue by sharing the Nutella love with others! I googled tons of recipes and came across some pretty good ideas. But one recipe won me over because it's so damn cheap. Three ingredients?! That is like the holy grail for a college student! Nutella, eggs, and flour. Hell yeah! So I have some Nutella brownie "cupcakes" in the oven right now :)

(Thank you to this website here!)

Nutella Brownie Cupcakes

So you already read it, the ingredients are simple:
  • 2 eggs
  • 10 Tbsp. flour
  • 1 cup Nutella 
  • A dash of salt (I forgot!) but I think sea salt would be nice in here
  • Optional ingredients--get creative with it yo!
    • 1/2 cup chocolate chips (white, milk, dark, semisweet!)
    • nuts! walnuts, pecans, macadamia nuts, you name it
    • butterscotch chips?
    • dried fruits (mmm dried cherries!)
    • a dash of cinnamon 

Gather your ingredients


Preheat your oven to 350 degrees!
(my oven is weird, so I have it a little higher)


Prepare your muffin tins (this recipe makes 12). I used muffin liner thangs. You could just spray yours to prevent sticking issues. But the brownies are pretty oily themselves I think you'll be okay.


Crack the eggs into a large-medium bowl


Mix them up & add the NUTELLA (I read from some reviewers that heating the Nutella makes it easier, but it worked fine for me without heating!) 


Add your 10 tbsp of flour into the chocolate goop and mix it in there


Simple, right?! Now pour your chocolate goopy goodness into your muffin tins.


Pop those lil guys in the oven and cook for 12-15 minutes.

Look how cute! 

Now, you can eat them like this and they will taste delicious. But if you're an overachiever you can try to make frosting. I'm debating on it right now. Too sweet? Maybe. Extra delicious? Yes. I think  I just made up my mind. Frosting it is! 

I'm just going to be real ghetto in here with the frosting and whip together a little butter, nutella, milk and maybe a splash of vanilla (and a dash of salt!). If you are too scared to live the ghetto life like me, here's a good recipe.

ENJOY :) 


Sunday, November 4, 2012

The Dirty D: Chowder Round 2 (Manhattan Clam Chowder Recipe)

So last time we made New England clam chowder. Oh yummy joys! Now I'll show you how to make Manhattan clam chowder. Like I said before, Manhattan clam chowder is more like a stew. There are more potatoes, clams, and vegetables in there. It's tomato based and has no cream. So if cream and butter scare you--go for the Manhattan.

Note: for both chowders you can substitute the bacon with turkey bacon if you don't eat red meat (like you mom). Just skip the blanching and add a little bit of oil to help the turkey bacon cook. 

Manhattan clam chowder

Ingredients:
  • 1/4 C bacon, medium dice (1/2" pieces)
  • 3/4 C onion, medium dice
  • heaping 1/2 C celery, medium dice
  • A little less than 1/4 C leeks, medium dice
  • A little less than 1/4 C green bell pepper, medium dice
  • 1/4 t minced garlic
  • 1 T flour
  • Sachet
    • Use cheesecloth, about 4ply, make sure to rinse it out! Inside put 1 bay leaf (crumpled up is easier), a pinch of dried thyme, a pinch of cracked black pepper, and one chopped parsley stem (you can use a pinch of dried parsley too). Tie it up with twine really tight. 
  • 3/4 C diced tomato
  • 1 1/2 t tomato paste
  • 6 1/2 C clam juice
  • 3/4 C potato (waxy, not a mealy potato), peeled and medium dice
  • 2 C clams
  • 1/2 t worcestershire sauce
  • Salt and pepper to taste
The cream snuck in this shot! (far left corner). Ignore the cream.

Bowchickawowow check those clams! 

The star of our chowder. 
Now let's begin! Manhattan chowda!
**Scraping down the sides of the pot is okay for this chowder, we want that color! So scrape away!**

First, we're gonna cook that bacon. No need to blanch it. We want all those crusty bits on the bottom of our pan for color and flavor. 


When the bacon is "breakfast brown," take it out and reserve it. We're gonna use that fat to carmelizeeee.


Add the onion, celery and bell pepper into the bacon fat. We're going to caramelize them. You want a really good caramelization. All that color = FLAVOR. 


I didn't caramelize mine enough, so keep cookin' if yours looks like this. Just make sure to remove any little burnt pieces along the way.

Add the garlic. Then the leeks.

You don't want the leeks to get any color. Move on to the next step once they're cooked, slightly translucent and soft.

Dump in yo flour. We're making a golden roux (so we want color this time! A nice golden brown!) Don't be fooled by the brown color from the veggies. The flour needs to turn golden.


Once the roux is golden brown (not like the picture above!), like a big clumpy floury brownish ball, add the tomato paste. Add the tomato paste onto the vegetable-flour mixture, not directly to the bottom of the pot, tomato burns SUPER easily so be careful! Taking it off of direct heat when adding tomato is good to do, too. 


Now cook this until it's dried out. It shouldn't be juicy or wet at all--we're cooking it until its "au sec." If you don't cook the tomato paste out enough you could end up with a soup the color of canned pumpkin pie filling, YUM. When it's dry, add the diced tomato. 


Cook that out too, it'll take a few minutes, wanna have a dry mixture in there!

Now for the fun part. 
CLAM JUICE! (smells delicious!)
So you wanna add the clam juice slooooowly. Using a ladle will help with that. Add one ladle-full, mix it in until it's lump-free (except for the vegetables of course), then add another ladle-full. Do this until all of the clam juice is added in. 


Wooo getting there! Lookin' like a soup now! Now toss in the sachet you have prepared.
Along with the potatoes and clams. 


Stir it all up. Turn the heat up all the way to bring it to a boil, then reduce to a simmer. 
Cook the chowder until it reduces and the potatoes are cooked. It should be thick, like a clam stew. 


Once the chowder's nice and thick, add the reserved bacon pieces! And the worcestershire sauce. 
Stir it up, taste the chowder! Make sure it's seasoned to your liking!
Boom. 
You just made some Manhattan chowda.