Wednesday, October 31, 2012

A Little Life Update

To all of you out in Narnia...wherever that may be...Patagonia, Maine, China, California, you know who/where you are... You might have noticed that I don't call as often. I don't text back as fast. And sadly, I don't snapchat as much as I'd like :'( You can thank my class for that. 5am to 2pm in a hot sweaty kitchen is exhausting. Having work after that is even more exhausting (thank god that's only like two days a week!). So I apologize. I wish I had more time to connect with everyone!

But here is a little update on my life! This is what I've been up to.

Fall festivities, like visiting the pumpkin patch. 
I don't experience seasons here in Hawaii...so this was an interesting sweaty pumpkin adventure. Tom and I ventured to Waimanolo-something-farm to get pumpkins because I wanted to do something autumn-ish! Kind of funny, the pumpkin patch was filled with babies. Babies rode in ghetto plastic barrels attached to a tractor ...weeeee "hayride." Stinky (but cute!) petting zoos, pumpkin painting, random dancing children--it was one of the funniest pumpkin patches I've ever seen! I could've gone to Safeway for a pumpkin--but I think the trip was worth it! Also, baby pigs are supa cute :) but I can't say the same for the old ones


Oh and I made pumpkin gnocchi! Yum! See? Gettin in the holiday spirit! 
Good recipe here


Went to Chinatown's Halloween block party. Anuhea was supposed to play! But we had a TSUNAMI WARNING. Dun dun dunnnnnnnn. The show got cancelled but we survived. And we got a picture with Anuhea, too! (wearing the spam hat). 


And of course, sleeeeeeeeep. Lots and lots of sleep. My favorite :) especially with a nice pillow on my back. I love feelin like a turtle in my dreams. Not really, but it makes for a cozy sleeping cave. 


So yeah! That's what I've been  up to. Not going to the beach much lately :( so sad...I'm actually pale! So if you're reading this and you miss me or you think that I might miss you--call me! Text me! Let's catch up! 


Saucy! (Homemade Tomato Sauce)


This song doesn't have anything to do with what I'm gonna talk about. But it's good and happy :) which makes for a good cooking song!

Last week was rough...so I didn't really have time to write on this blog thing. Today I was thinking that making videos for my blog would make life so much easier! But I'd feel a little awk recording myself talking to god knows who...I'll save vlogging for later when I get WAYYYY too lazy. So! Last week I trussed and completely deconstructed chickens (removed all the meat from the bones). We used the bones to make stock so that was kind of cool. I feel like we waste way too much food in the food industry (and plastic!). Makes me a sad panda :( I'm so sorry world. And after we made those stocks we learned how to make the mother sauces! From there we went to soups. So tomorrow I will be making Manhattan and New England clam chowder...yum....sorry, but I really dislike clam chowder.

I'll write more on that tomorrow. Yuck, clam juice.

Since we learned how to make a few sauces I thought I'd share a recipe with you! TOMATO SAUCE. It is so versatile, so useful, make it. You could make pizzas, calzones, spaghetti, lasagna--get creative with it!


Go gather your ingredients!  It might help to have a kitchen scale. I might invest in one soon.

Yield: 1 Quart
  • 0.5 oz olive oil
  • 4 oz mirepoix
  • 1 oz tomato paste
  • 1 lb. tomatoes
  • 1 1/2 lb.  tomato juice
  • 1 pint tomato puree
  • Sachet (1 bay leaf, cracked black pepper, thyme, chopped parsley stems--in cheesecloth and tied with twine) 


    To begin, you'll need to prep your mirepoix. That consists of 2 parts onion, 1 part celery and 1 part carrot (2oz. onion, 1oz. carrot, 1oz. celery). 

    Now, in a medium-sized sauce pan...put in the oil and mirepoix on medium heat. If it makes a super loud "sizzle!" sound, turn it down a bit, you don't want to burn the mirepoix--you want caramelization. Nice and golden. That color=flaaaaavor! 


    (If you see any little burnt stragglers, take them out! Otherwise you might get a strange burnt flavored sauce...scoop em oot!) 

    Add the tomatoes.We used canned plum tomatoes. You could use fresh tomatoes, that's what I'd do! It doesn't really make a difference since we blend the sauce at the end. Tomato skin? Pshhh imma pulverize it. Tomatoes burn easily so remove the pot off of the heat for a second and place the tomatoes in on top of the mirepoix--not directly onto the bottom of the pa


    Use your spatula (or wooden spoon) to break down the tomatoes in the pan. 


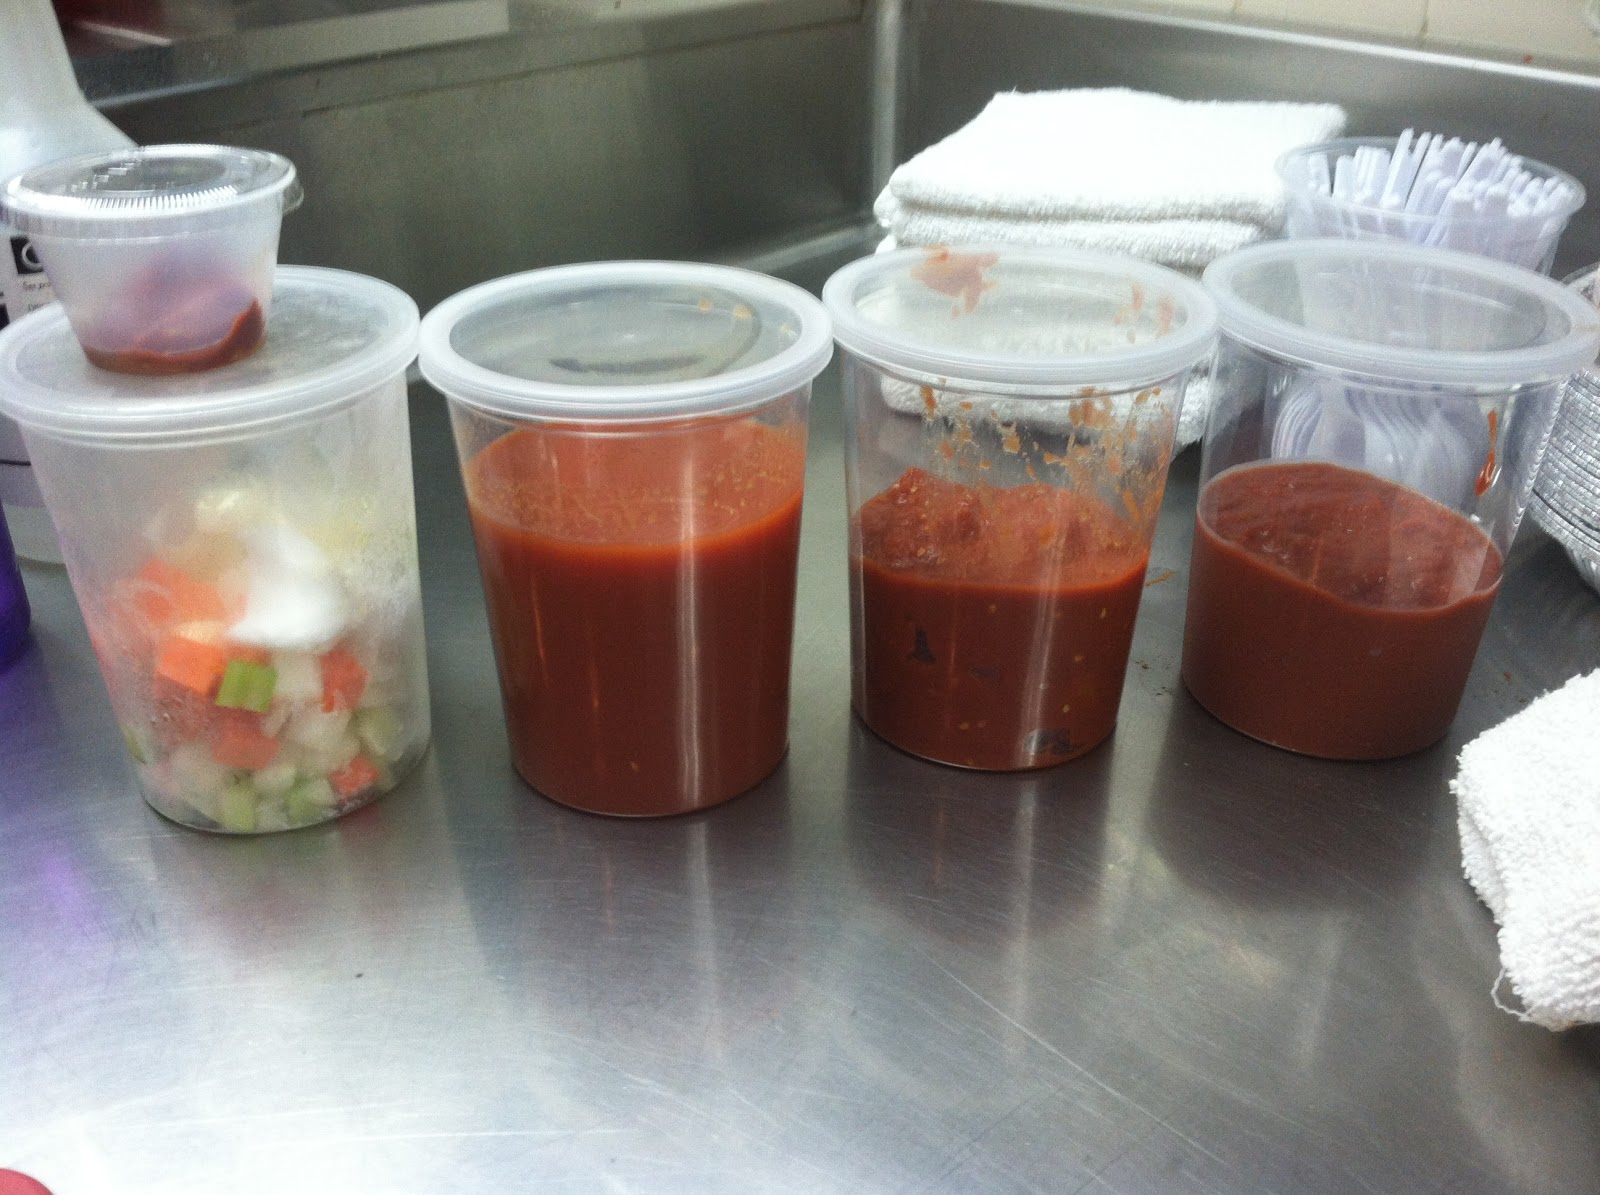
    Cook that until it looks something like this. You want to "dry it out," get rid of the moisture and cook out the acidity from the tomatoes. 


    Add the tomato paste. Again, don't add to the bottom of the pot. And keep stirring! Like I said, tomatoes burn easily! So remember to scrape the sides and don't let anything sit for too long. Make sure you cook the tomato paste long enough, you want to really cook it out...if you don't you'll end up with a sauce that looks more like canned pumpkin...yuuuum 


    After cooking the paste down with the tomatoes and mirepoix you want to add the tomato juice. 


    Bring to a boil, then as soon as it reaches a boil reduce the heat--and simmer. Partially cover the pot with either the lid, or you can use a pie tin like me! Ghetto style ohhh yeah. 


    Also, throw that sachet in there when you add the tomato juice! It looks like a lil ghostie! BOO! 


    So now you wait. The sauce needs to reduce, we're getting rid of that super acidic taste...after you reduce your sauce you'll notice that it's noticeably sweeter and thick. 

    The sauce needs to pass the "canal test." Use a spoon and drag it on the surface of the sauce. It should make canals that look like this. If any water or liquid fills the canals it needs to cook longer. Remember to taste your sauce, too!  I forget to do that all the time. But serrrrriously, you can taste the tomato acid if you don't reduce this sauce enough so pay attention! 


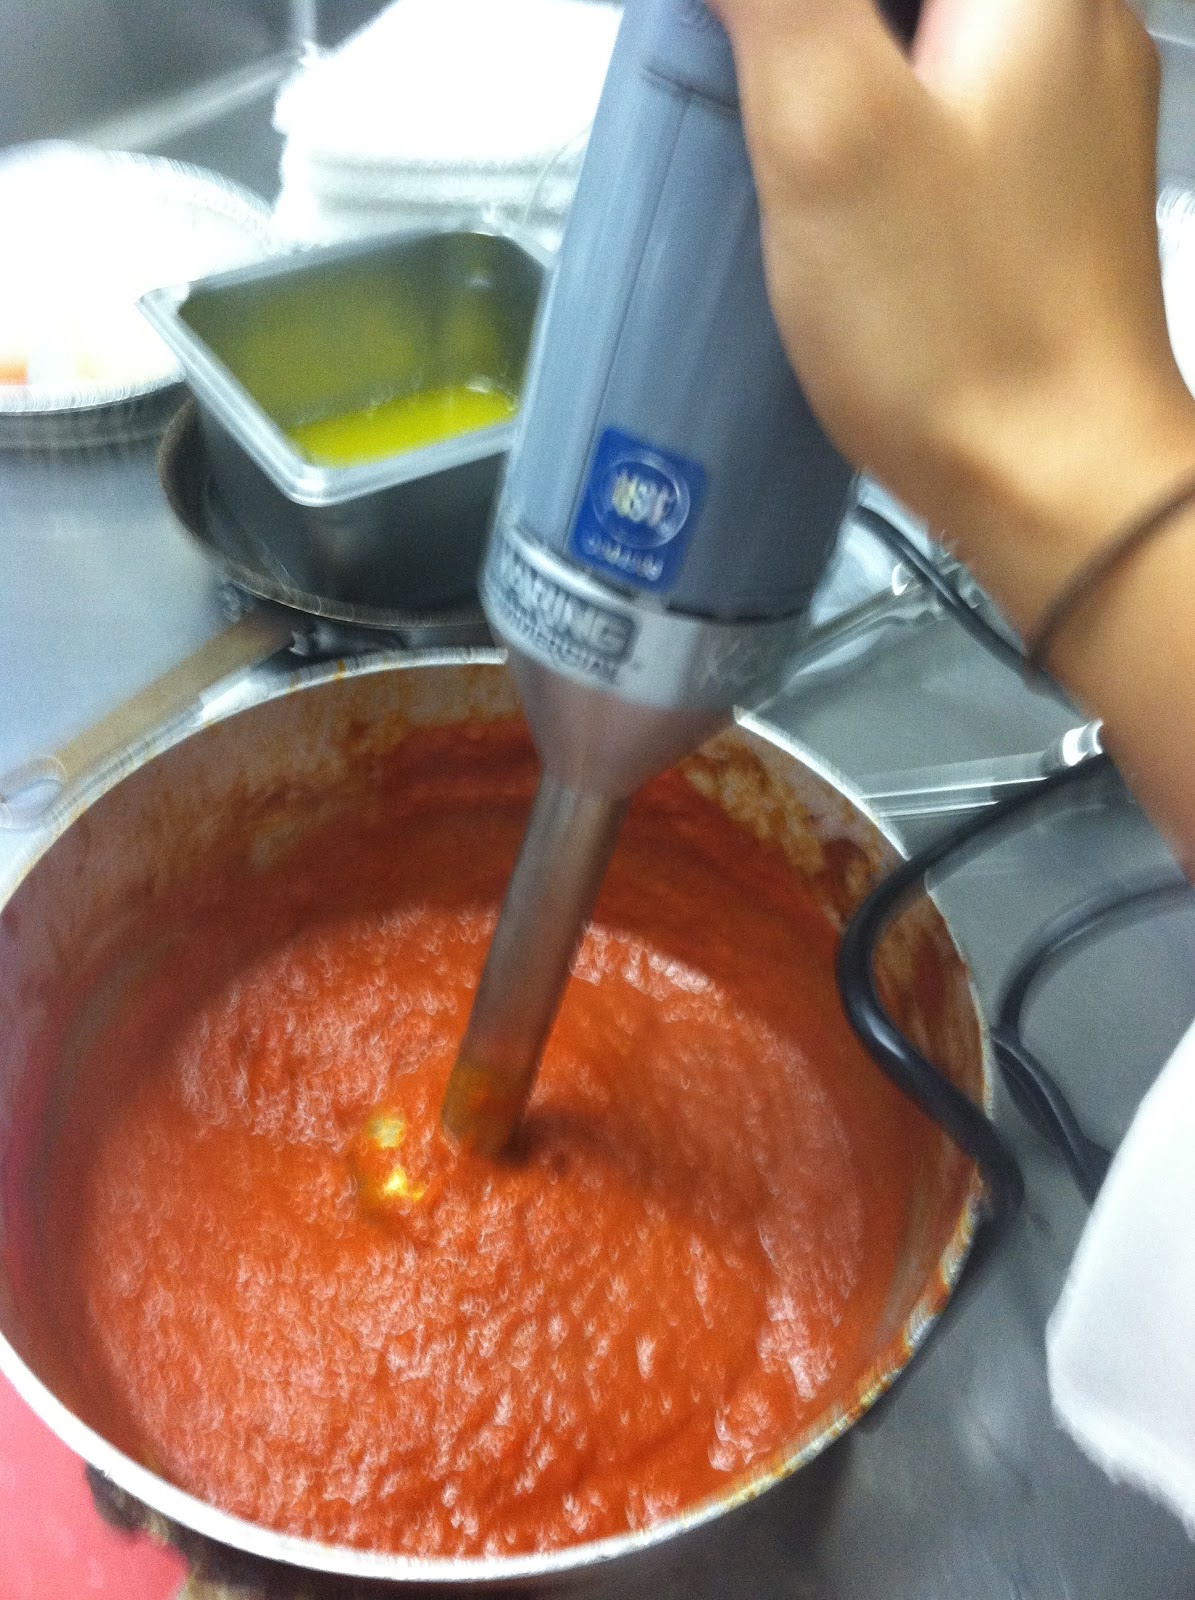
    Once your sauce tastes right and passes the canal test you're ready to blend! If you have an immersion blender--use it! If not, you can use a blender...just make to blend it in small batches and use a kitchen towel over the top. 


    Buzzzzzzzzzzz


    I reduced mine down a little more after I blended it because my sauce tasted acidic...bleh! No problem, though, I just cooked it a little longer and it tasted deeeelicious! 
    Enjoy yo saucy goodness :)


DIY Candy-Filled Cookies!


Thank you for the bag of candy, Mom. I ate almost all of it in a matter of hours... and thank you  kitchen-station buddy for bringing three glorious bags of candy to school to make my morning 100x more exciting! I am too old to trick or treat, but I will never be old to stuff my face with candy on Halloween. AND with a little help from my leftover sugar cookie dough I made beautiful sugary creations--a new way to consume even more sugar on Halloween! Yes! Candy filled cookies. Seriously, if you ever have too much candy...do this! You can't go wrong with a warm cookie and gooey chocolatey goodness inside. 


They look like plain cookies on the outside


But they have oozy chocolatey caramely magical blobs inside!

It's super easy, just flatten out a ball of cookie dough (like a lil pancake), place a small piece of candy inside then wrap up the edges of the dough around the candy like a package. Bake for a normal ten minutes at 350 degrees and you'll have yummy cookie treats :) you could even roll them in colored sugar before baking or press m&m's into them when they're fresh out the oven. Yummmmmmmm!


Monday, October 22, 2012

Pretending it's Christmas (Buttery Sugar Cookie Recipe)

Who needs Halloween or Thanksgiving when there's Christmas? Seriously. It's the end of October, which means it's basically November...which means it is basically December. And as soon as December 1st rolls around it IS Christmas in my mind. Christmas is more than just a day. It's everything that leads up to Christmas that makes it so magical! People are noticeably nicer--no one wants to be a Scrooge. Everything is shiny and colorful. Cheerful music plays 24/7. And nothing makes me smile more than hearing little kids talk about Santa Claus. It is a time of giving, sharing, loving...Seriously, I'd like to meet whoever disagrees with me--I will fight you. Christmas is the best. And that is why I'm baking Christmas cookies in October. I'm getting in the spirit early this year. Everyone should!

I guess I'm not particularly interested in the ho-liday (Halloween hah!) The fun was over the day I got too old to trick-or-treat. So I'm going straight to the most magical time of the year. If you're with me on this one, bake some Christmas cookies, too! I'm currently making my favorite sugar cookies. And let me tell you, these are not over-baked crunchy cookies with piles of frosting and spastic sprinkles on top. No, I'm making beautiful buttery sugar cookies with a nice glaze on top. So please, if you're going to make these...do me a favor and listen to Christmas music while you work. That's the only way.


Let's gather up the ingredients! 


You'll need: 
  • 1 cup sugar
  • 1 large egg
  • 1 cup of butter, room temp.
  • 3 cups all purpose flour
  • 1.5 tsp baking soda
  • 1.5 tsp almond extract/flavoring (vanilla works just as well!) 
  • about 0.5 tsp salt (I usually eyeball that) 
The butter is supposed to be room temp. but I forgot to take it out of the fridge earlier. So I went with this method: 


Yeah, I stuck that butter in my sports bra straps! Warmed it right up. I'm no sicko, it works...body heat works!

Also, yay butter!! :)


Okay, let's do this. 
Start off by mixing your butter until it's nice and creamy. Then add in the sugar. You should have a fluffy butter-sugar party in your bowl!


Crack open your egg and mix it in there.


 Smooth sweetness :) yummmmm. 
Time for some almond flavoring (or vanilla, you can have whateva you likeee)

I tried almond flavoring for the first time, I usually just go for the vanilla. Smells yummy! 
After you put that in there go ahead and grab your baking soda. I sprinkle it over the top. 


Mix mix mix it uppp. And toss that salt in there!


Flour time! 3 whole cups. Measuring flour is important. If you have scoopy measuring cups like me, make sure you do this: take another wooden spoon to spoon the flour into your measuring cup. If you use your measuring cup to directly scoop out the flour it will compact the flour in there, making everything too dense. Then level it off with a knife (or be ghetto like me and use body of the wooden spoon)


Mix it up until everything is combined! Have a little sample too :)


Almost finished! Time to prepare the dough for cookie cutters/baking. Here is what I like to do: take some plastic wrap and cover a cookie sheet, or cutting board. Put a portion of the dough on top. Then grab some more plastic wrap and lie it flat on top of the dough. Roll the dough out between the two sheets of plastic wrap so that you don't have a sticky dough mess. Sweet! Also, if you don't have a rolling pin like me...use a wine bottle. Also also also: if  you don't usually have plastic wrap around, big ziplock baggies work (like the big freezer ones). Stick some dough in there, close it most of the way but not all the way, then roll away!


Stick em in the fridge to cool for at least 30 minutes...or if you're really eager the freezer works too! 


Now we wait...maybe you want to preheat your oven now (350 degrees)

While we wait! Check out some pictures from today! Tom and I went on a hike in Hawaii Kai...I forgot the name of it. I think it was "something" ridge. Meh doesn't matter, it was pretty! 


Such a nice view! The ocean looked so clear that it basically blended into the sky! Also, we saw two teeeeeeeny chihuahuas hiking up this trail. Impressive little guys. Imagine how many little steps they had to take to get up there! Super fit chihuahua babies! 

Okay, I have waited long enough! COOKIE TIME

I don't have any cookie cutters out here in my Honolulu home so I'm gonna get creative up in here with a little butter knife! But when you make them you should use cookie cutters. 

SO Ghetto. I tried... I guess I need to get some cookie cutters. 
Bake at 350 degrees (Fahrenheit) for about 10 minutes. You don't want the edges to be super brown...unless you like your cookies crunchy (like you, mom, go for 12 minutes). Also, if they looked under-cooked and you're scared: there's this thing called carry-over cooking. The cookies will continue to cook outside of the oven (just a little though).

When they're done, let them cool completely. You don't want runny glaze everywhere...cleaning that up is no fun. And if you're in Hawaii too, I have one word for you: cockroaches.


GLAZE TIME! 

This is real simple so I won't bother with pictures. You'll see once I start to glaze the cookies! Go ahead and grab this stuff from your pantry
  • 2 cups powdered sugar (more or less)
  • 3 tbsp honey (usually people use corn syrup but I'm kind of anti-corn syrup...so I'm trying honey)
  • 3 tbsp milk (again, I use almond. But use whatever you like) 
  • 1 tsp vanilla extract 
  • Optional: sprinkle of sea salt
  • Food coloring--woooo colors!! :) this goes by personal preference (if you're using gel coloring, they're much stronger. Just warning you! I like them much better. It's a good investment to at least buy the primary colors so you can create any color you want!)  
I'm making half the regular recipe so if you want more, double it! I feel like I always end up with way too much icing (sorry for all those random containers of icing, frosting, glaze goop in the fridge mom & dad!) so I'm being smart and cutting the recipe down. Can't afford to waste money as a broke college student!

Mix everything together. Bam. It's that easy! If your glaze is too thick, add a tiny bit more milk. If it's too thin, add a little bit of powdered sugar. 


Okay, they usually look WAY prettier than this. 
Like this:


Cookie cutters would help. And a little less heat (why does the weather have to be so nice right now!?) Also, honey works as a substitute for corn syrup pretty well, but corn syrup actually does make nicer glaze. 

Anyways! Soak all of that goodness in. Make some cookies. Listen to some Christmas music and be happy. 
 Merry Octoberistmas! 

Peace out & pug love. 


Saturday, October 20, 2012

Falalala. Vegan Horchata.


Such a happy song! And I think I made it clear that this post is all about horchata. I just made some because I thought about how much I miss Mexican food today. I think I made horchata for the first time last month...I don't remember...but it turned out pretty delicious so I thought I'd share my ghettofied horchata recipe with you. Also, I drink almond milk instead of regular milk so this recipe is vegan. So if you're lactose intolerant--don't be afraid! No need to worry about your gassy problems! And if you really like milk, trust me, you won't miss it. This is goooood.

Here's what you need:
  • A large bowl
  • Whisk
  • Ladle
  • Blender 
  • Containers for storage, maybe a pitcher
  • A fine strainer (I used cheesecloth and a rubber band--ghettofied!)
  • A spoon (to taste!) 
  • Small pan 
  • Measuring cups

Ingredients:
1 C. long-grain white rice
1C. regular, unsweetened almond milk
1 tsp. cinnamon (I just eyeball it, throw that cinnamon all up in there)
1tsp. vanilla extract (again, I just estimate)
4 C. water; plus 1/2 (for simple syrup)
1/2 C. sugar


Alright let's begin!

Put the rice into a blender along with 4 cups of water. Pulse for a good 30 seconds, look at it, then pulse it some more. You want the rice to be pretty fine in there. It should look like this when you're done.


Okay break time! This needs to sit at room temperature for at least three hours. So go do your homework, run some errands, hit up the beach! 

OR

You can be an overachiever and make the simple syrup ahead of time. Let's go ahead and do that. You'll need your 1/2 cup of sugar and 1/2 cup water. Put the two ingredients in a small pan. Bring to a simmer, you just want the sugar to dissolve into the water. 

3 hours later...ready for some horchata? If you went to the beach I'm sure you are! First, take your watery rice mixture (that should be in a large bowl now) and we'll start with the cinnamon. I put in a few dashes because my cinnamon container really pours it out...so go ahead, put as much as you want.


Stir it up (it is kind of hard to completely mix together, that's okay).


Now add the cooled down simple syrup. (Oops I reversed the order! Doesn't matter, as long as it all gets in there. No worries!) Also, don't forget the vanilla extract! Just a small amount, a teaspoon is even generous...but I loooooove vanilla :)

Finally, we add that cup of almond milk. Then stir it alllllll up. Action shot!

I'm going to keep my horchata in recycled glass jars so I'll show you how I do that. I'll go through that lovely straining process with you. Since I'm a poor college student, I am going to use some random cheesecloth and a rubber band instead of a fine strainer.


So cut off a piece of cheesecloth that will fit over the jar. And use the rubber band to secure it. 


See how nifty that is? Now use a ladle to pour the mixture into the jar. 


If the cheesecloth gets filled with rice goop, scoop it out with a spoon. Then when you're done filling the container, lift off the cheesecloth and rubber band.

Bam! You're done. Your horchata is ready to be chilled or serve it right away with ice. Sit outside with a nice cup of this ricey-cinnamony drink and there's no way you can be in a bad mood :) 


Yay! Drink up! :)

It does not look like weird pee in person, I promise...